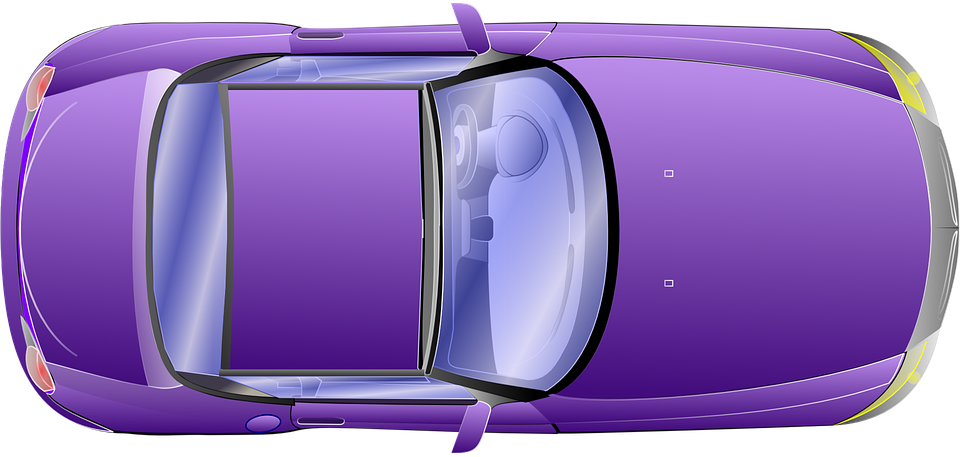
Go Robot
You start by making a "robot" move. At first, the robot looks like a car. Later, you can change this if you wish. The levels increase in complexity and prepare you for the boss fight at the end. Be aware: the "robot" contains programming errors, and unfortunately, you will have to deal with them.
Getting started
Open Go Robot in Firefox, Chrome or Safari. You need no account and nothing to install. On the left you type your code, on the right is the car. Press Run (or Ctrl/⌘ + Enter) to run your code.
Saving and sharing
Your code, and the levels you have unlocked, are saved in the address of the page. Everything you type changes that address.
- To keep your work, bookmark the page, or press Copy link and keep the link somewhere.
- To work as a team, send the link to your teammates. They get your code and your levels. If they change something, they have a new link, so send it back.
- Closing the page without keeping the link means your code is gone.
Controlling the car
The goal is to drive the car to a specific location. The location is marked by dotted lines. You control the car by typing commands. Type each command carefully, or you will get an error and the car will do nothing.
car.forward();Moves the car one space forward.
car.backward();Moves the car one space backward.
car.turn(1);Turns the car 45 degrees.
car.turn(-1);Turns the car −45 degrees.
Sound and lights
The car can play sounds and use lights.
car.honk();Sounds the horn.
car.headlights(true);
car.headlights(false);
Turns the headlights on or off.
car.backlights(true);
car.backlights(false);
Turns the backlights on or off.
car.blinkHeadlights(3);Flashes the lights a number of times.
car.spin();Makes the car spin around.
Make it your own
There are several properties of the robot that you can change.
car.speed = 300;The time one move takes, in milliseconds: lower is faster. The default is 500.
For each level, you can also set sounds and images. Give the address (URL) of an mp3 or image file on the internet:
level1.setHonkSound("https://example.com/horn.mp3");The sound of the horn.
level1.setEndSound("https://example.com/tada.mp3");The sound when you reach the goal.
level1.setRobotBackground("https://example.com/my-robot.png");The image of the "robot".
level1.setLevelBackground("https://example.com/my-level.png");The image of the level. Only the picture changes: the walls are still where they were, even if your picture doesn't show them. A level is 700 × 400 pixels.
Finding images and sounds
Images and sounds are always links to a file somewhere on the internet; you can't upload them here.
- You need a link to the file itself, ending in something like
.png,.jpg,.gifor.mp3, not a link to a web page that shows it. - For an image: right-click it and choose "Copy image address".
- Test your link first: paste it in the address bar of a new tab. If you see only the image or hear only the sound, it works.
- Some sites don't allow their files to be shown elsewhere. If your car stays the same, try another site, for example Wikimedia Commons.
- Images are not resized for you: pick or make one with the right shape.
Levels
There are four levels and a boss level. At the start only level 1 is open. When the car reaches the goal of a level, the next level unlocks: press Go to level 2 →, or pick the level at the top of the page. Every level keeps its own code, so you can go back to an earlier one.
The code of a level starts with:
import {game} from './level';

let level2 = game.level2();
var car = level2.car;
The boss level is opened with game.bozz().
The boss fight
The boss level is a maze, and you are against the clock: you have 30 minutes, starting the moment you first open the boss level. The clock keeps running, also when you close the page.
When the car reaches the goal, you get rated on two things:
- Did you finish in time? Finishing late still counts, but less.
- How cool is your car and level? One star for each:
- Your own car:
boss.setRobotBackground(url) - Your own level:
boss.setLevelBackground(url) - Your own sounds:
boss.setHonkSound(url)orboss.setEndSound(url) - A light show: headlights, backlights or blinking
- Showing off: honking, spinning or a different speed
- Your own car:
Your best result is kept in your link. Run as often as you like: after every run you see which stars you have.
And remember: the robot contains programming errors. The walls might not be as solid as they look.
From level 4 onwards, it becomes important to start working with repeating commands.
Repeating commands
To run a command more than once, first import the repeat commands at the top of your code:
import {repeatNumberOfTimes, repeatUntilWall} from './repeaters.ts';Repeat a command a certain number of times:
repeatNumberOfTimes(2, function() {
    car.honk();
});
Repeat a command until there is a wall in sight:
repeatUntilWall(function() {
    car.forward();
});
If the car never sees a wall, the repeating stops after 500 times with an error.